

Subscribe to our one-month free trial, without commitment!



The AssisTime Projects module helps you be as efficient as possible by simply recording the time you spend working for your clients. What better than a stopwatch to keep track of that time for you?
That's exactly why AssisTime offers a timer in its project management module. Find out how it works!
Open the project you're going to work on (see this article), then click Timer at the top right. This window appears:
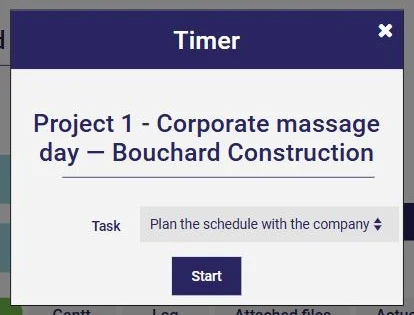
Choose from the list whether you're timing the project in general or one of its tasks, then click Start.
A small green rectangle appears at the top of your screen and shows the elapsed time:

It stays on screen while you move around AssisTime: you can look at a client record or your calendar without stopping it. The red X cancels the timer without saving anything.
When you've finished your work, click the hourglass or the time shown in the green rectangle. A new timesheet opens, with the date, start time and end time already filled in, along with the task you chose:
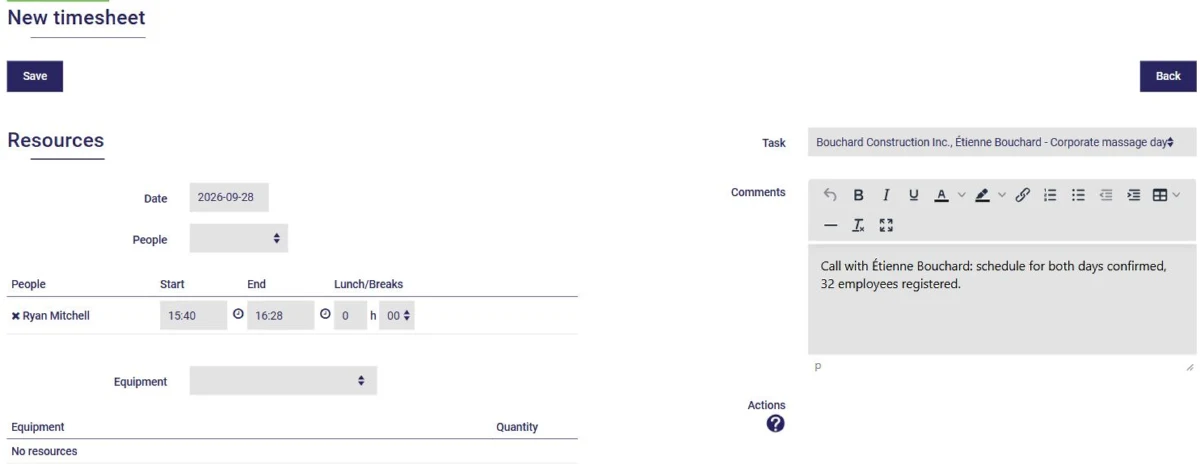
Adjust the length of your lunch or breaks if needed, add your comments on the work done, then click Save. The time is added to the actual hours of the project and the task, ready to be invoiced!
You now know how to use the AssisTime timer. It will be a big help in keeping track of the time you work!
Subscribe to our one-month free trial, without commitment!
You will be charmed by the interface and the ease of use!
